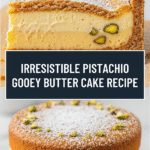
Pistachio Gooey Butter Cake Bliss Recipe
Introduction
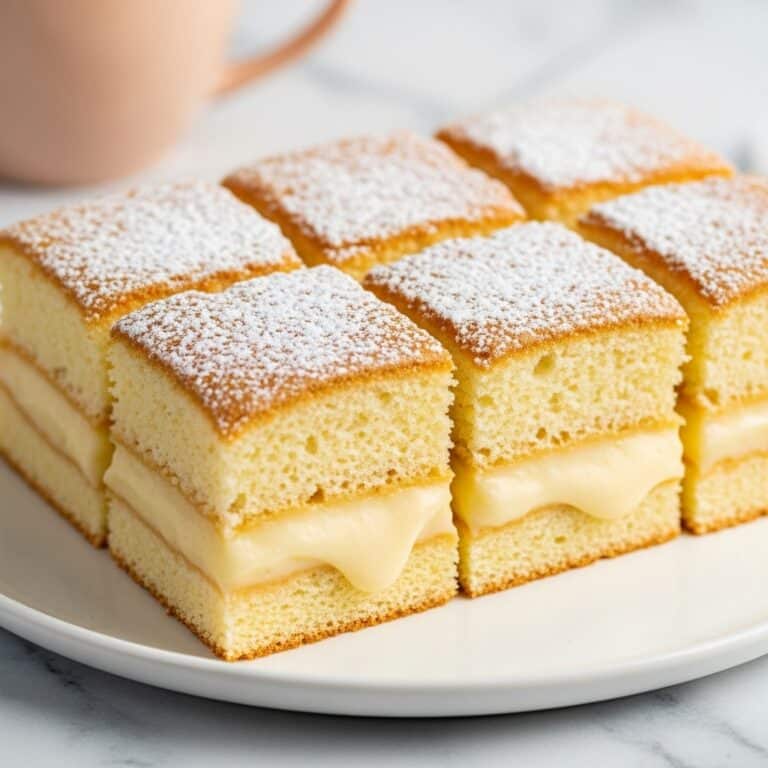
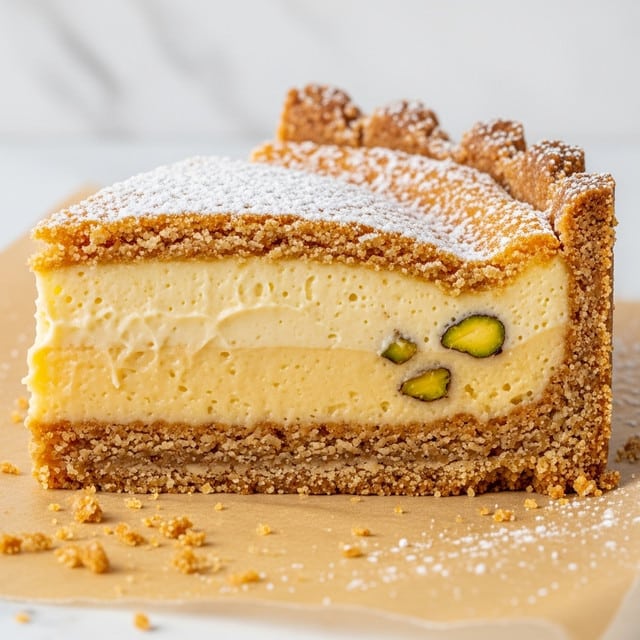
Indulge in the rich and buttery delight of Pistachio Gooey Butter Cake. This dessert combines a soft, buttery crust with a creamy pistachio-filled topping, making it a perfect treat for any occasion.
Ingredients
- 1 cup unsalted butter, softened
- 2 cups granulated sugar
- 3 large eggs
- 1 cup all-purpose flour
- 1 tsp baking powder
- 8 oz cream cheese, softened
- 1 cup unsalted pistachios, finely chopped
Instructions
- Step 1: Preheat your oven to 350°F (175°C) and prepare a 9×13-inch baking dish with nonstick spray.
- Step 2: In a medium bowl, mix softened butter and sugar until smooth. Add one egg and mix well before incorporating flour and baking powder. Spread this mixture evenly in the prepared dish.
- Step 3: In another bowl, beat cream cheese and sugar until creamy. Add two eggs one at a time, mixing well after each addition. Fold in the chopped pistachios.
- Step 4: Pour the filling over the crust and bake for 40-45 minutes until golden brown on top but still gooey in the center.
- Step 5: Allow to cool slightly before slicing into squares. Serve warm with whipped cream or vanilla ice cream.
Tips & Variations
- For a nut-free version, omit pistachios and add a teaspoon of vanilla extract to the filling for extra flavor.
- Chop pistachios coarsely if you prefer more crunch in each bite.
- If you want a firmer cake, bake for an additional 5-10 minutes but watch closely to avoid drying out.
Storage
Store leftover cake in an airtight container in the refrigerator for up to 4 days. Reheat individual squares gently in the microwave for about 15-20 seconds to enjoy the gooey texture again.
How to Serve
Serve this delicious recipe with your favorite sides.
FAQs
Can I use salted pistachios instead of unsalted?
Yes, but reduce or omit any added salt in the recipe to avoid an overly salty taste.
Can I make this cake ahead of time?
Absolutely. You can prepare the cake a day in advance and store it covered in the fridge. Serve it slightly warmed or at room temperature for best texture.
PrintPistachio Gooey Butter Cake Bliss Recipe

Experience the rich and decadent flavors of Pistachio Gooey Butter Cake, a luscious dessert featuring a buttery crust topped with a creamy, pistachio-studded filling. This indulgent treat bakes to a golden brown finish while maintaining a satisfyingly gooey center, perfect for serving warm with whipped cream or vanilla ice cream.
- Prep Time: 15 minutes
- Cook Time: 40-45 minutes
- Total Time: 55-60 minutes
- Yield: 12 servings 1x
- Category: Dessert
- Method: Baking
- Cuisine: American
Ingredients
Crust
- 1 cup unsalted butter, softened
- 2 cups granulated sugar
- 3 large eggs
- 1 cup all-purpose flour
- 1 tsp baking powder
Filling
- 8 oz cream cheese, softened
- 1 cup granulated sugar
- 2 large eggs
- 1 cup unsalted pistachios, finely chopped
Instructions
- Preheat and Prepare: Preheat your oven to 350°F (175°C). Grease a 9×13-inch baking dish with nonstick spray to ensure easy removal of the cake after baking.
- Make the Crust: In a medium bowl, cream together the softened butter and 2 cups of granulated sugar until smooth and well combined. Add one egg and mix thoroughly. Stir in the all-purpose flour and baking powder until the mixture is evenly blended. Spread this mixture evenly into the prepared baking dish to form the base crust.
- Prepare the Filling: In a separate bowl, beat the softened cream cheese with 1 cup of sugar until the mixture is creamy and smooth. Add the remaining two eggs one at a time, mixing well after each addition to maintain a smooth texture. Gently fold in the finely chopped pistachios to evenly distribute them throughout the filling.
- Assemble and Bake: Pour the pistachio cream cheese filling evenly over the prepared crust. Place the baking dish in the preheated oven and bake for 40 to 45 minutes, or until the top is golden brown but the center remains gooey.
- Cool and Serve: Remove the cake from the oven and allow it to cool slightly. Slice into squares and serve warm, optionally accompanied by whipped cream or vanilla ice cream for an extra indulgent touch.
Notes
- Ensure butter and cream cheese are softened to room temperature for easy mixing and a smoother texture.
- Do not overbake; the cake should be golden on top but still gooey in the center.
- Chop pistachios finely to distribute flavor evenly without overwhelming the texture.
- This cake is best enjoyed warm but can be stored covered at room temperature for up to 2 days or refrigerated for up to 5 days.
- Serve with whipped cream or vanilla ice cream to enhance the richness of the dessert.
Keywords: Pistachio Gooey Butter Cake, pistachio dessert, cream cheese cake, buttery crust, gooey cake, easy dessert recipe, baking dessert