Gluten-Free Red Velvet Crinkle Cookies Recipe
Introduction
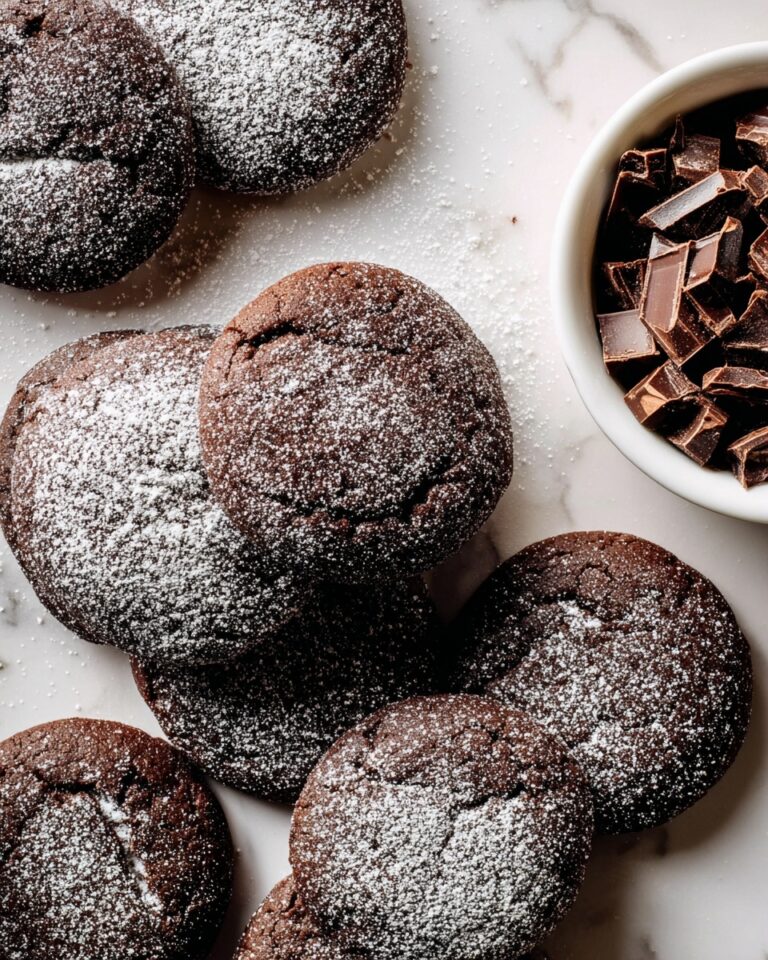
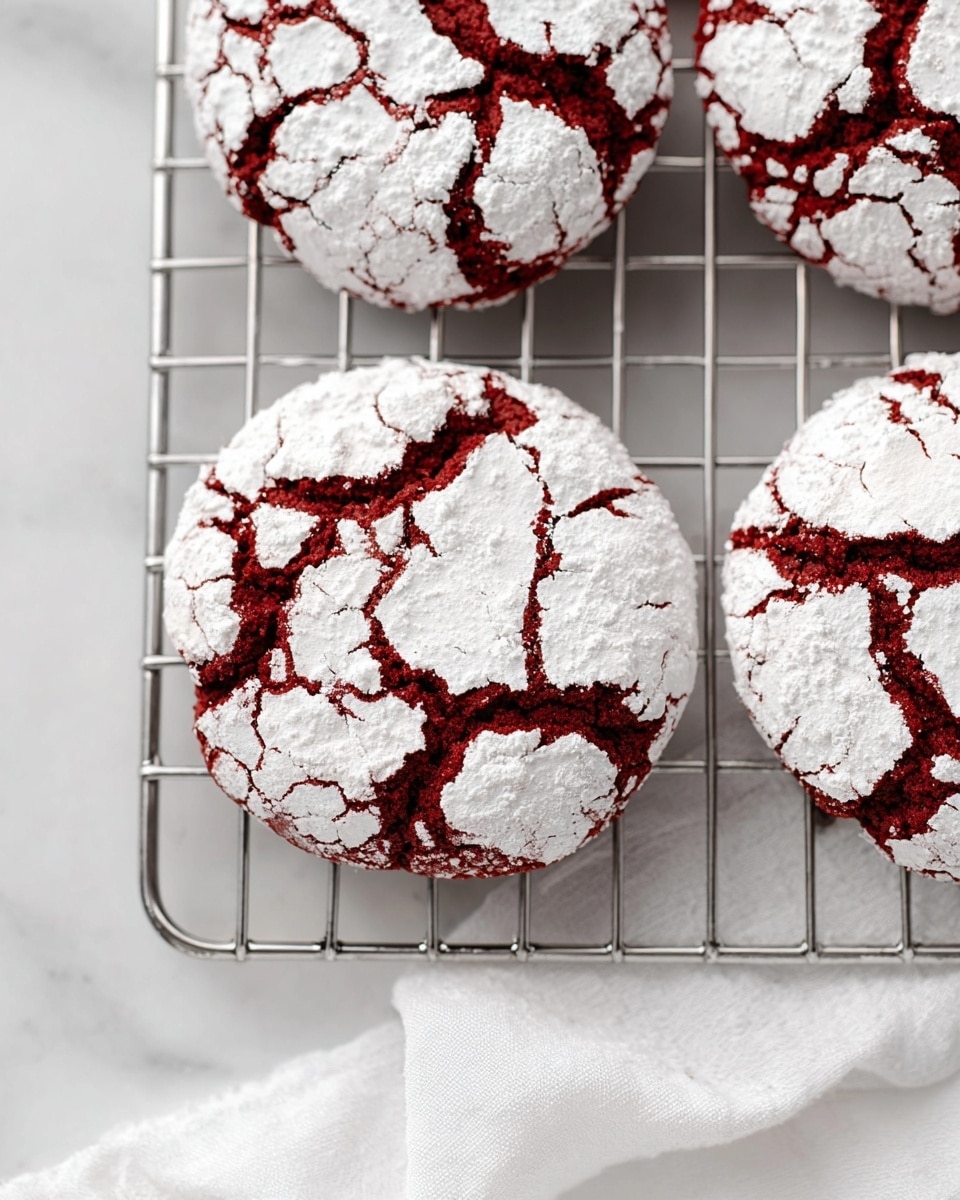
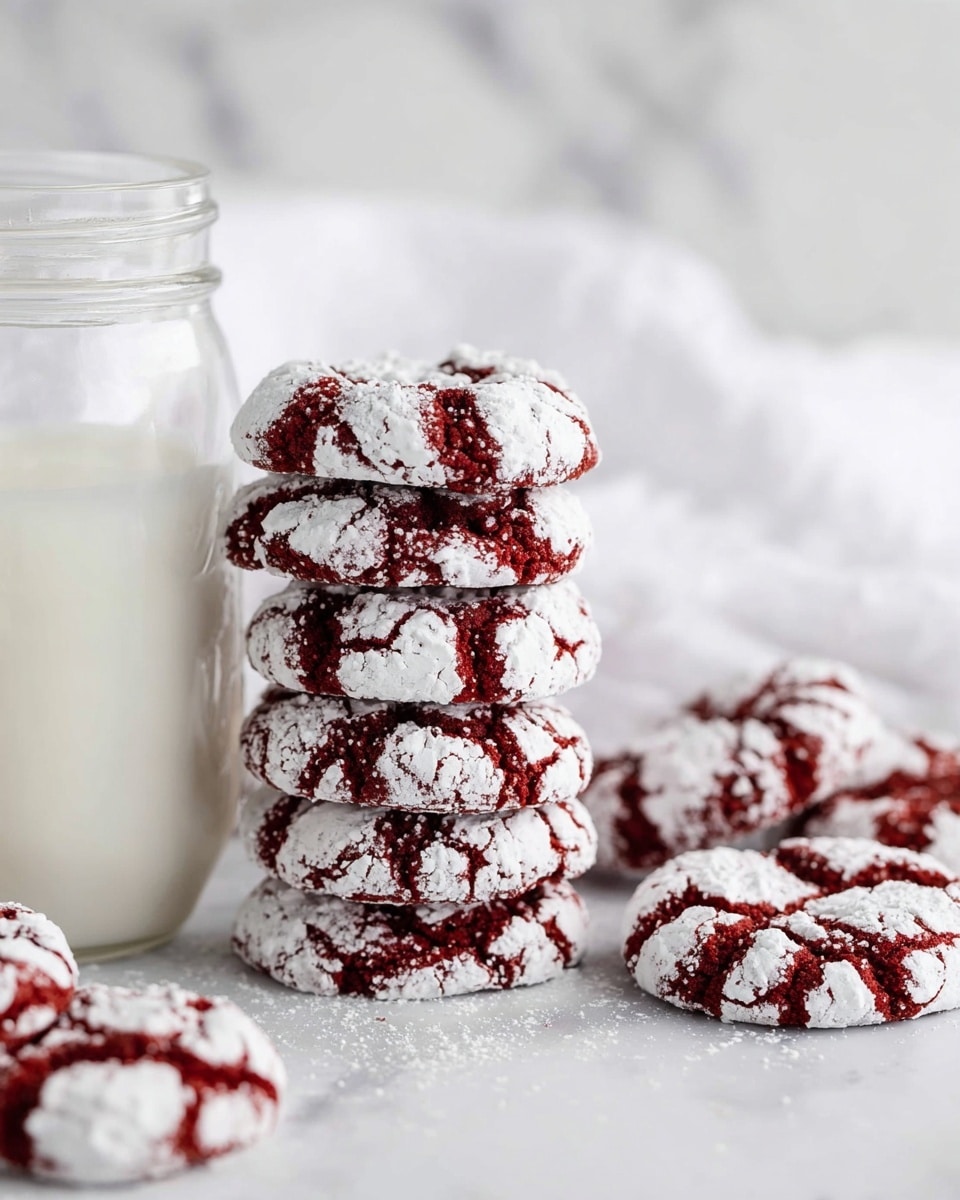
These Gluten-Free Red Velvet Crinkle Cookies combine the rich flavor of cocoa with that classic red velvet hue, all wrapped up in a beautifully cracked, powdered sugar coating. Perfectly soft and chewy, they are a delightful treat whether for a holiday or any special occasion.
Ingredients
- 2 cups gluten-free measure-for-measure flour, weighed or scooped and leveled
- 1/3 cup unsweetened cocoa powder (natural cocoa, NOT Dutch-processed cocoa) (35 grams)
- 1 teaspoon baking powder
- 1/4 teaspoon baking soda
- 1/2 teaspoon kosher salt
- 1/2 cup butter, room temperature (113 grams / 1 stick butter)
- 3/4 cup sugar (150 grams)
- 1/2 cup brown sugar (100 grams)
- 2 large eggs, room temperature
- 1 tablespoon milk
- 2 teaspoons vanilla extract
- 1 to 1 1/2 teaspoons red gel food coloring (such as Ann Clark or Wilton)
- 1/3 cup granulated sugar
- 1/2 cup powdered sugar
Instructions
- Step 1: Preheat the oven to 350°F (175°C). Line two baking sheets with parchment paper to prepare for baking.
- Step 2: Set up your rolling station by placing 1/3 cup granulated sugar into one shallow bowl and 1/2 cup powdered sugar into another shallow bowl.
- Step 3: In a medium bowl, whisk together the gluten-free flour blend, cocoa powder, baking powder, baking soda, and kosher salt. Set aside.
- Step 4: Using a stand mixer with a paddle attachment or a hand mixer in a large bowl, cream the butter, granulated sugar, and brown sugar together for 2 to 3 minutes, until the mixture is light and fluffy.
- Step 5: Scrape down the sides of the bowl and add the eggs one at a time, mixing well after each addition until fully incorporated.
- Step 6: Mix in the vanilla extract, milk, and red gel food coloring until evenly blended.
- Step 7: Scrape the bowl again, then add the dry ingredients while mixing on low speed until just combined. The dough will resemble thick, sticky brownie batter—do not add extra flour.
- Step 8: Scoop 1 1/2 tablespoon-sized balls of dough and roll each smoothly between your hands. Roll each ball first in the granulated sugar, then in the powdered sugar. Place six dough balls on a baking sheet, baking one batch at a time for even baking.
- Step 9: Bake the cookies for 9 to 10 minutes until the edges are set but centers remain slightly underdone. Let cookies cool on the baking sheet for 2 minutes to finish setting, then transfer to a wire rack to cool completely. Use a fresh baking sheet for each batch to avoid adding cooled dough on a hot surface.
- Step 10: Serve immediately or store the cookies in an airtight container at room temperature for 3 to 4 days, or freeze for up to 2 months.
Tips & Variations
- Use natural cocoa powder rather than Dutch-processed for the best red velvet flavor and proper leavening reaction.
- If you prefer a deeper red color, add up to 1 1/2 teaspoons of red gel food coloring, which won’t thin the dough like liquid coloring might.
- For extra moisture, you can substitute half of the butter with cream cheese, keeping the total fat the same.
- If you don’t have a gluten-free flour blend, you can try a homemade mix, but be sure it’s suitable for baking and measure carefully.
Storage
Store the cookies in an airtight container at room temperature for up to 3 to 4 days to keep them fresh and soft. For longer storage, freeze the baked cookies in a sealed container or freezer bag for up to 2 months. To reheat, thaw at room temperature and warm briefly in the oven at 300°F (150°C) for 5 minutes if desired.
How to Serve
Serve this delicious recipe with your favorite sides.
FAQs
Can I use regular all-purpose flour instead of gluten-free flour?
Yes, you can substitute regular all-purpose flour in equal measure if gluten is not a concern. The texture will be similar, though slightly different from the gluten-free version.
Why is natural cocoa powder recommended instead of Dutch-processed cocoa?
Natural cocoa powder is acidic and reacts with baking soda to provide proper leavening and that classic red velvet taste. Dutch-processed cocoa is neutralized and won’t produce the same rise or flavor.
PrintGluten-Free Red Velvet Crinkle Cookies Recipe
These Gluten-Free Red Velvet Crinkle Cookies offer a delightful twist on classic red velvet with a fudgy texture and a beautiful cracked powdered sugar coating. Perfectly chewy with a rich cocoa flavor and vibrant red color, these cookies are ideal for special occasions or everyday treats for those adhering to a gluten-free diet.
- Prep Time: 15 minutes
- Cook Time: 10 minutes
- Total Time: 25 minutes
- Yield: Approximately 24 cookies 1x
- Category: Dessert
- Method: Baking
- Cuisine: American
- Diet: Gluten Free
Ingredients
Dry Ingredients
- 2 cups gluten-free measure for measure flour, weighed or scooped and leveled
- 1/3 cup unsweetened cocoa powder (natural cocoa, NOT Dutch-processed) (35 grams)
- 1 teaspoon baking powder
- 1/4 teaspoon baking soda
- 1/2 teaspoon kosher salt
Wet Ingredients
- 1/2 cup butter, room temperature (113 grams / 1 stick butter)
- 3/4 cup sugar (150 grams)
- 1/2 cup brown sugar (100 grams)
- 2 large eggs, room temperature
- 1 tablespoon milk
- 2 teaspoons vanilla extract
- 1 to 1 1/2 teaspoons red gel food coloring (such as Ann Clark or Wilton)
Coating
- 1/3 cup granulated sugar
- 1/2 cup powdered sugar
Instructions
- Preheat The Oven & Prep Your Pan: Begin by preheating your oven to 350°F (175°C). Line two baking sheets with parchment paper to prevent sticking and ensure even baking.
- Set Out Your Rolling Station: Prepare two shallow bowls; pour 1/3 cup granulated sugar into one and 1/2 cup powdered sugar into the other to coat the cookie dough balls later.
- Combine The Dry Ingredients: In a medium bowl, whisk together the gluten-free flour blend, unsweetened cocoa powder, baking powder, baking soda, and kosher salt. Set this mixture aside.
- Cream Butter & Sugars: Using a stand mixer with a paddle attachment or a hand mixer, cream the room-temperature butter with granulated sugar and brown sugar for 2 to 3 minutes until the mixture is light and fluffy.
- Add Eggs One At A Time: Scrape down the bowl sides and add the eggs individually, mixing well to incorporate each before adding the next.
- Mix In Vanilla, Milk & Dye: Blend in the vanilla extract, milk, and red gel food coloring thoroughly until the mixture has a uniform, vibrant color.
- Add The Dry Ingredients: Lower mixer speed to low and gradually add the dry ingredients. Mix just until combined; the dough should resemble thick, sticky brownie batter without additional flour.
- Scoop & Roll: Using a medium cookie scoop, portion approximately 1 1/2 tablespoons of dough per cookie. Roll each ball smooth, then coat first in granulated sugar and then in powdered sugar. Arrange 6 dough balls on a prepared baking sheet to allow even baking.
- Bake & Cool: Bake each batch for 9 to 10 minutes until the edges are set but centers remain slightly underdone. Let cookies cool for 2 minutes on the baking sheet to finish setting, then transfer to a wire rack to cool completely. Swap baking sheets to prevent warming dough on a hot tray and repeat for remaining dough.
- Serve Or Store: Enjoy cookies freshly baked or store in an airtight container at room temperature for 3 to 4 days. They can also be frozen for up to 2 months to maintain freshness.
Notes
- Use natural cocoa powder, not Dutch-processed, for authentic flavor and proper chemical reactions with baking soda and powder.
- Room temperature eggs and butter ensure better mixing and texture.
- Don’t add extra flour; the dough should be like thick, sticky brownie batter.
- Rolling dough balls in both granulated and powdered sugar creates the signature crinkle cookie appearance.
- Baking one tray at a time helps cookies bake evenly without crowding.
- Store baked cookies in an airtight container to preserve freshness and texture.
- Freezing dough or baked cookies can extend shelf life for up to two months.
Keywords: gluten-free red velvet cookies, red velvet crinkle cookies, gluten free dessert, holiday cookies, red velvet cookie recipe